Are you new to making teddy bears? Do you know how to read a teddy bear pattern? In this video I will explain the different parts of teddy bear patterns that you can sew yourself at home! Get a free teddy bear pattern when you sign up for teddy bear making tips here: http://teddybearacademy.net/mailing-list/
Category: Bear Making Tips
Little hints and tips to help you with your teddy bear making.
Finding Time to Make Teddy Bears
Are you a beginner when it comes to making teddy bears? Are you overwhelmed and don’t know where to begin? Have you made teddy bears before, and would like to again but can’t seem to find the time?
I find that by breaking the different steps of making the bear up into sections, it gives me a natural “break time”. If you look at bear making as a number of short steps, you will realize that you can work on your teddy bear in short 30 minute segments if you like. Before you know it, you will have done a number of 30 minute segments and you will have finished your teddy bear! I also find I get my bears done faster as I don’t procrastinate as much.
Here is how I divide my bear making up. Some of the steps may be longer than 30 minutes, but you can always break up a step into a few 30 minute segments.
- Pattern Preparation (I either glue the pattern pieces onto thin cardboard like a cereal box to make the pattern pieces more sturdy. You can also trace the pieces onto clear quilter’s template for a longer lasting pattern.)
- Figure out what direction the fur lies, mark an arrow on the back of the fabric so you can keep track of it and trace the pattern pieces onto the back of the fabric.
- Cut out the pieces
- Match & pin the pieces together to prepare for stitching.
- Sew the pieces together.
- Apply Aleene’s Stop Fraying to seam openings & let dry.
- Turn pieces right side out.
- Stuff the head, stitch the nose, close the neck and insert eyes.
- Trim the muzzle
- Insert the joints into the arms and legs & stuff. Close seam openings.
- Attach the head and limbs to the body.
- Stuff the body and close the seam opening.
- Add the ears, do finishing touches on face and add a ribbon and you are done!
Would you like help with your bears? Join Teddy Bear Academy for an all access pass to teddy bear making videos and ask me your bear making questions! Join here: https://classes.teddybearacademy.co/pages/join-today
How to Hand Sew Your Teddy Bear
Do you have to use a sewing machine when making teddy bears? No! You can sew your teddy bear entirely by hand. Although I usually use a combination of machine sewing and hand sewing to stitch my teddy bears, sometimes I will sew the entire bear by hand. I find hand sewing to be very relaxing. It is easy to take along your teddy bear sewing projects on trips when you sew by hand too!
Below is part of the Teddy Bear Ornament class which is available inside of Teddy Bear Academy. This part will show you how to sew by hand. Enjoy!
Want more helpful teddy bear making video tutorials? Join Teddy Bear Academy and get access to ALL of my bear making videos. https://classes.teddybearacademy.co/pages/join-today
How to Sew Ears on a Lopped Ear Bunny Rabbit
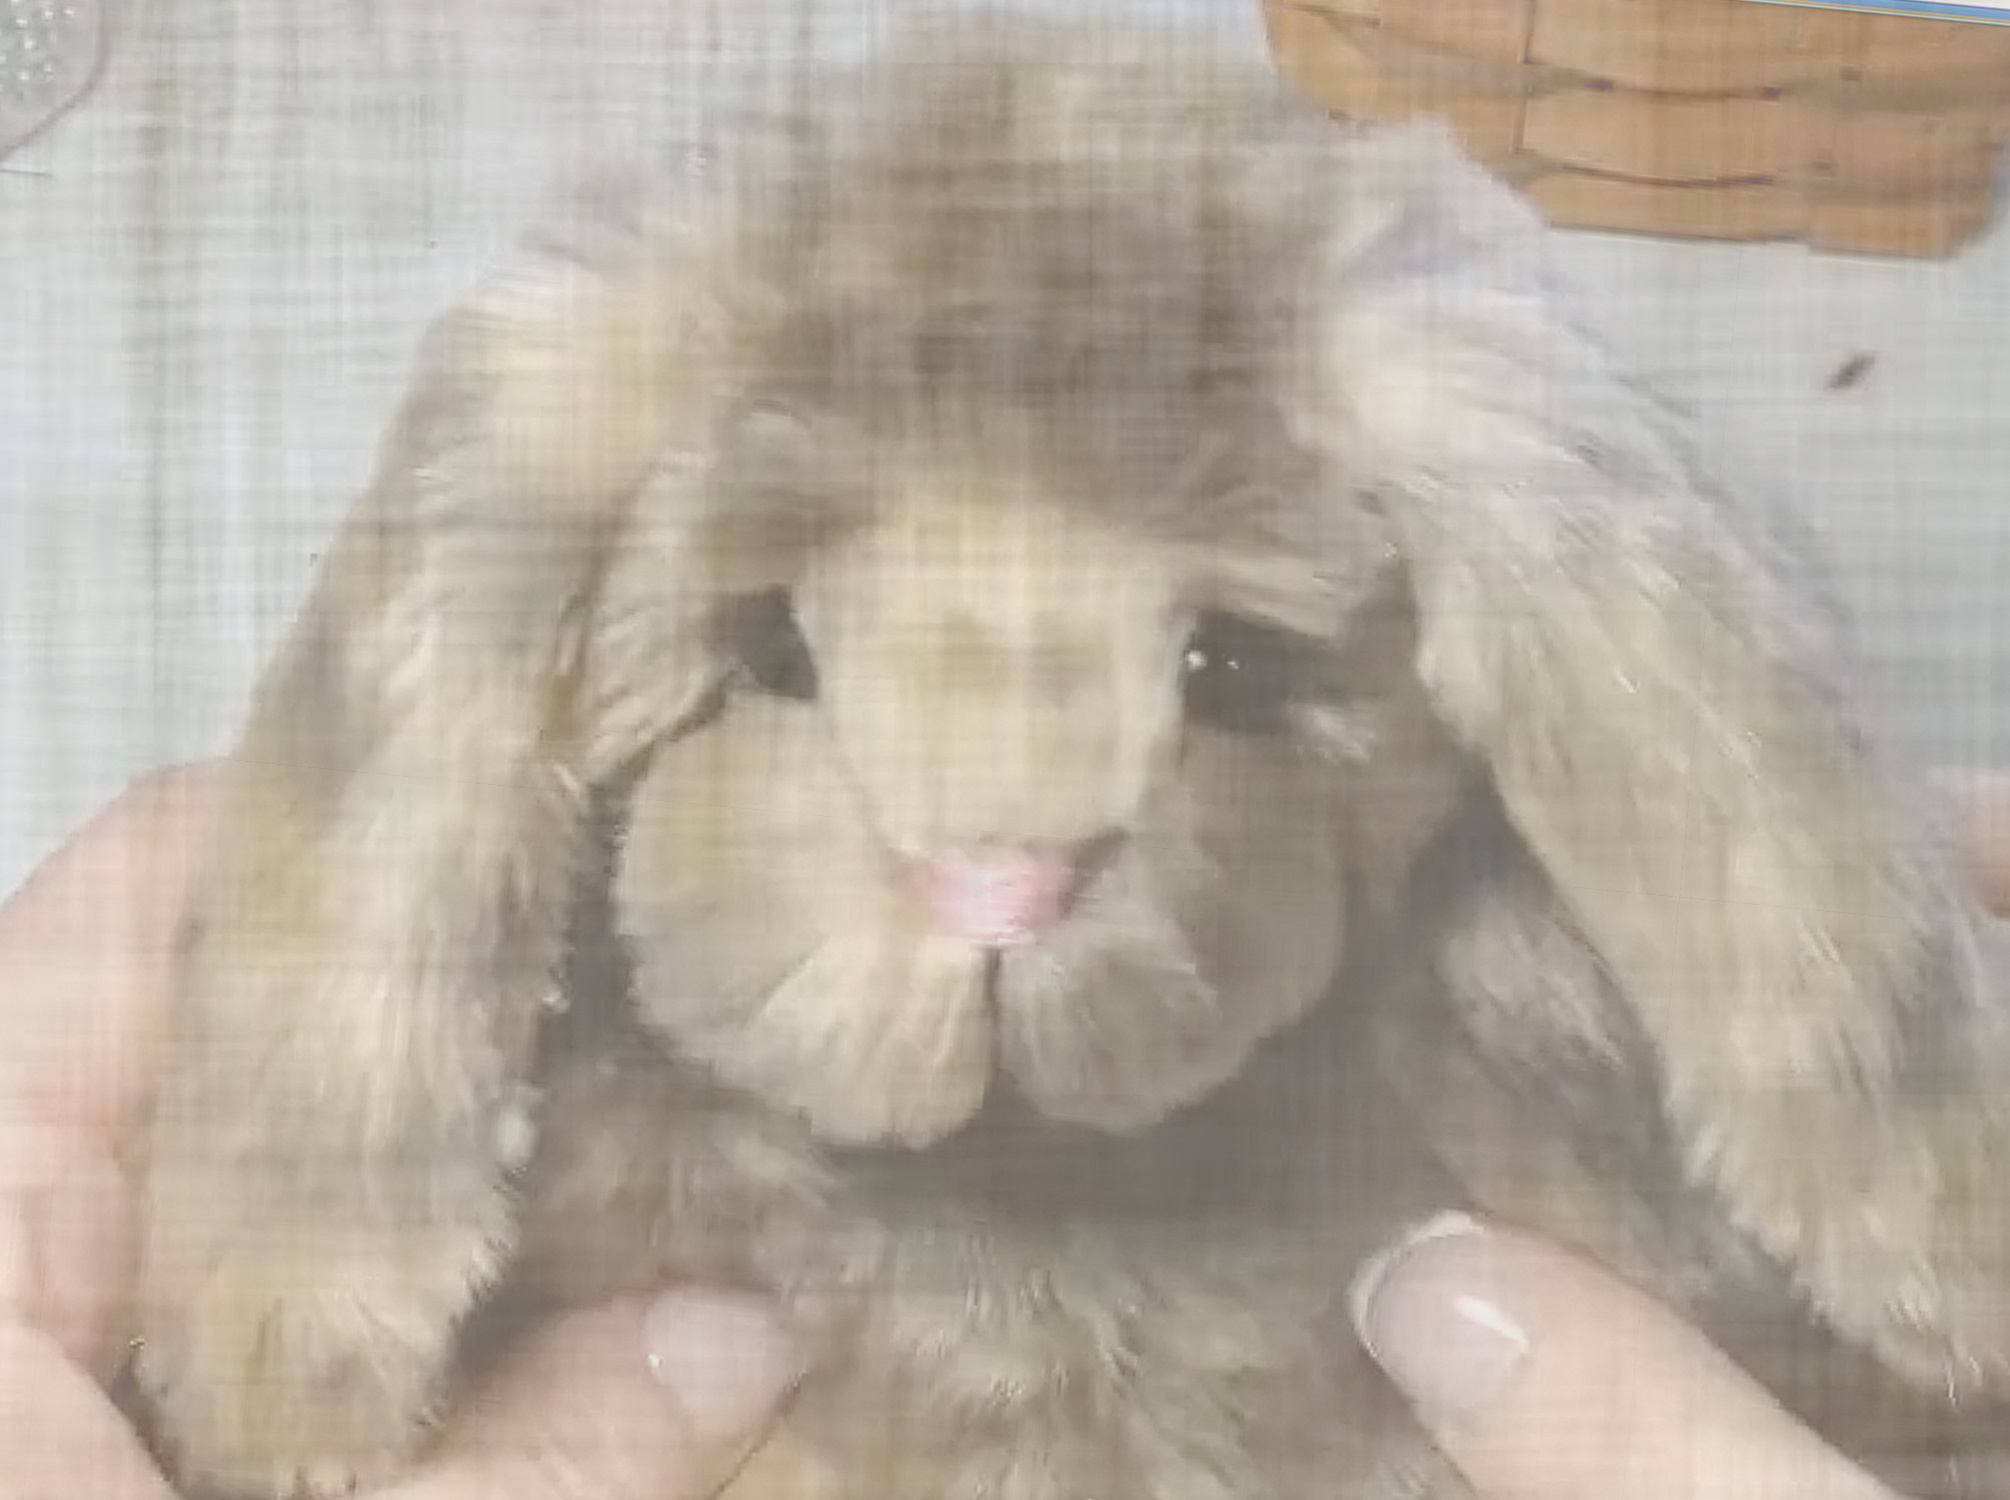
Hi, in this free mini class I will show you how I attach floppy bunny ears.
Click here https://teddybearacademy.net/quarterly-sale/
Save up to 50% & get UNLIMITED access to ALL of my teddy bear making video classes!
Sale Ends Soon!
Rice as a Tool for Teddy Bear Making
In this week’s free video I will show you how rice can help you with your bear making. And NO, I do NOT mean that you should put rice in your bears!
Quite often when you are doing handwork, your hands, they get sore. One way to help alleviate the soreness and stiffness of your hands is to take a bowl of rice. Put it in the microwave. I usually put that much rice in my microwave for about a minute.
Now the rice is nice and warm. Just stick your hand right down in the rice. It will feel really good.
You don’t want to make the rice too hot because you don’t want to burn your hand. For me I found this much rice in my microwave gets to the right temperature in about a minute. Give your hands this treatment and you’ll be ready to sew again!
When you are done with the rice, save it to use it again. What I do is I pour it into a gallon size plastic bag and I do mark it “For Hands”, so I don’t use it to make dinner.
Get your free eBook: How to Make Teddy Bears with 7 free patterns at:
3 of My Favorite Bear Making Tools
Hi it’s Laura Lynn from TeddyBearAcademy.net where you can take teddy bear making classes from the comfort of your own home. In this week’s free video I will show you three of my favorite teddy bear making tools.