
Would you like to join me via Zoom while we make Freida the Flamingo? You can join Teddy Bear Academy here: https://classes.teddybearacademy.co/pages/join-today
Would you like to join me via Zoom while we make Freida the Flamingo? You can join Teddy Bear Academy here: https://classes.teddybearacademy.co/pages/join-today
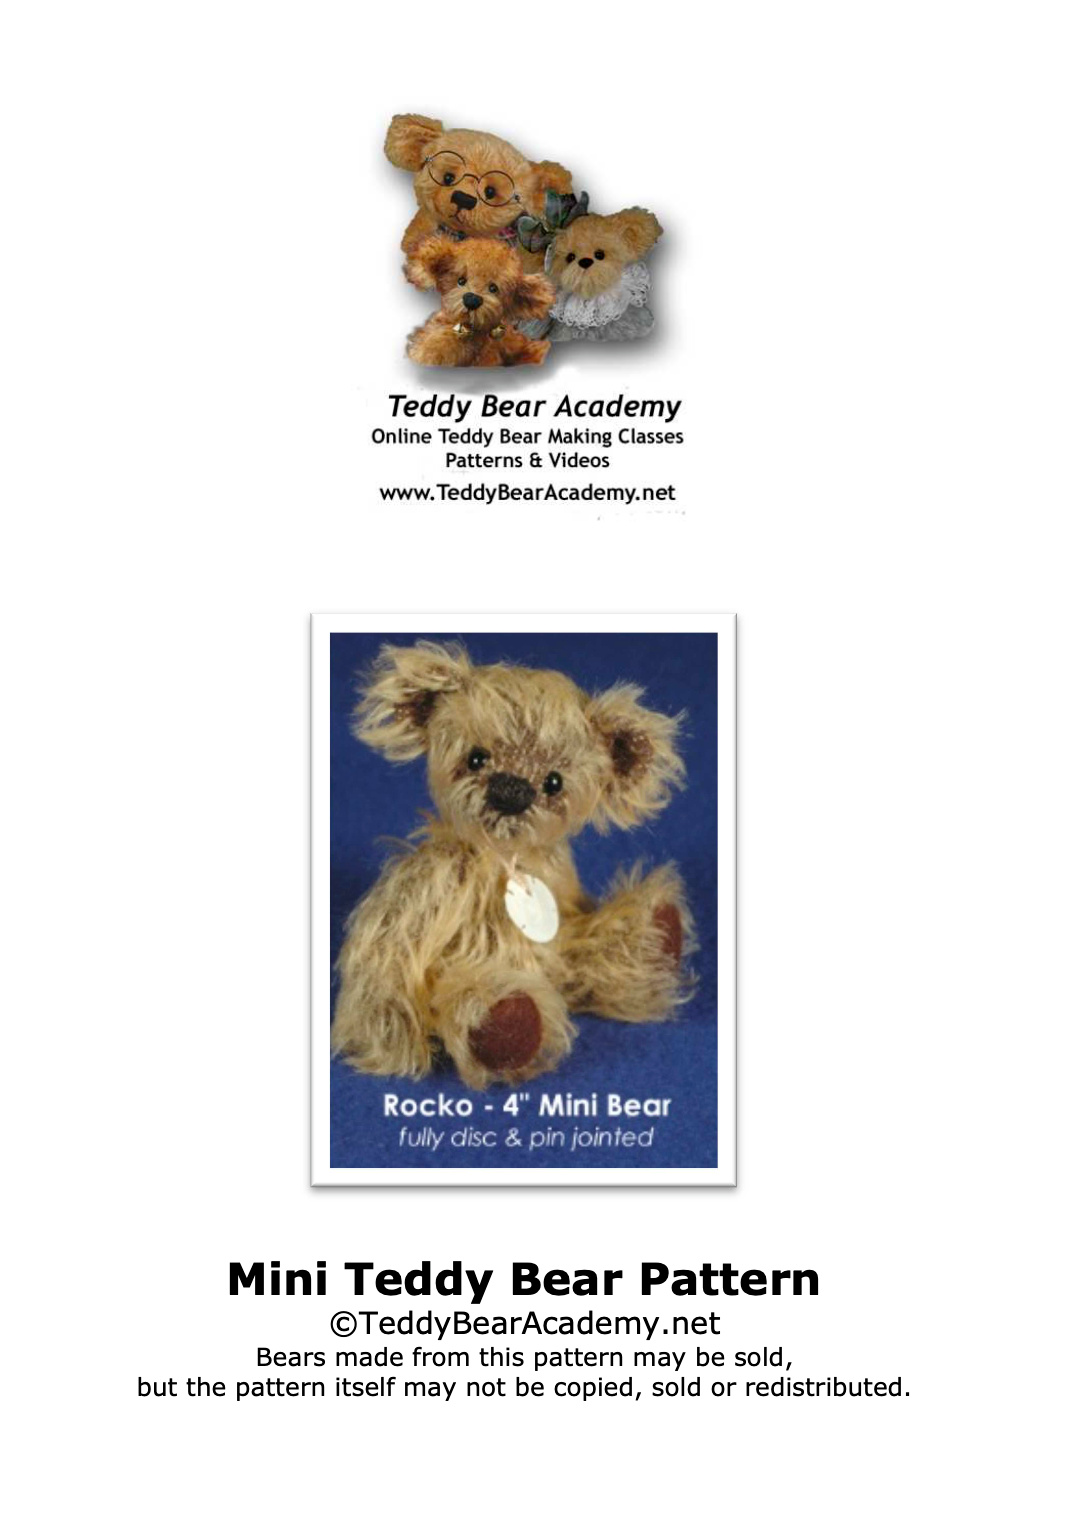
One of the fun things about making your own teddy bears is how different they can look even when you use the same pattern. This video will show you many different teddy bears all made from one miniature teddy bear pattern:
All of these bears were made from my Rocko pattern, which is available on my website here: https://teddybearkits.teddybearacademy.net/?product=rocko-4-jointed-miniature-teddy-bear-pattern-pdf
Have you made any of your own bears from the Rocko pattern? Share them with me here!
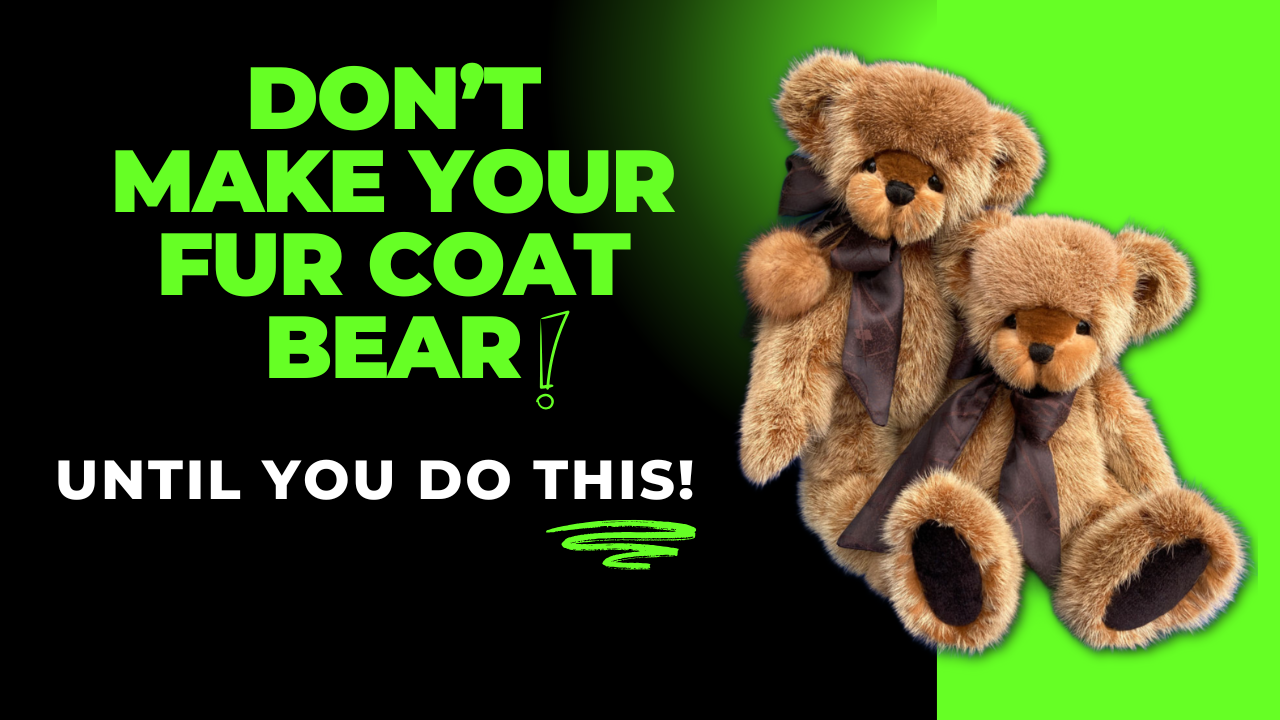
Do you have a fur coat you’d love to transform into a beautiful teddy bear? Repurposing real fur can be a bit more challenging than working with mohair or synthetic fabrics, but the results are well worth it! In this video, I’ll guide you through one of the essential steps in the process, setting you up to create a truly stunning, one-of-a-kind teddy bear.
Interested in more? The “Fur Coat Memory Teddy Bears” class in included with a membership to Teddy Bear Academy.
When I am adding joints to my miniature and small teddy bears I use discs and cotter pins. But when I am making teddy bears that are 8″ or larger I usually prefer to use discs, bolts and lock nuts in the limbs.
The joints in the latter method are more stiff and so the bear (or other stuffie) keeps it’s pose much easier. Depending on the pattern they can also stand on their own much easier. There are several ways to add bolt and lock nut joints. The method in the videos below is my preferred method.
If you would like unlimited access to ALL of my teddy bear making videos, you can join Teddy Bear Academy here: https://classes.teddybearacademy.co/pages/join-today
In this video, I will show you how to insert a sewn-in label into the back of a teddy bear, perfect for adding that professional touch to your handmade creations! Whether you’re personalizing your DIY stuffed animals or adding a custom brand tag, this tutorial will guide you through each step of the process.
In this video, you’ll learn:
This is a great technique for anyone who loves crafting, sewing, or creating personalized gifts. Make your teddy bears even more special with custom labels!
I use the labels found here: https://wunderlabel.com/
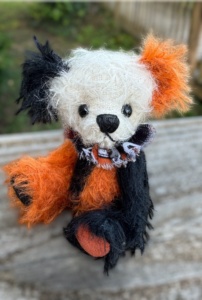
A fabric ruff is the perfect finishing touch for your miniature teddy bears, especially if you’re looking to dress them up for a special occasion! In this video, I’ll show you how I make a cute orange and black fabric ruff for my Halloween-themed teddy bear. It’s a fun, simple craft that adds a bit of flair to your little bear and can be customized for any holiday or theme.
Whether you’re a seasoned bear-maker or just getting started, this project is easy to follow. I’ll walk you through every step, from gathering materials to stitching it all together, so your bear can be ready for Halloween in no time!
Making a fabric ruff is not only a fun project, but it also adds a charming, handcrafted touch to your teddy bear. Plus, you can get creative with different fabrics, colors, and even embellishments. Whether you’re making this for a special occasion or just for fun, you’ll love the finished look.
Ready to give it a try? Check out the video, and let’s make something adorable together!